Hallicrafters SX-62 Communications Receiver (Run 2 - S/N 199212)
Ebay: $74. Just finished restore (April 2006).

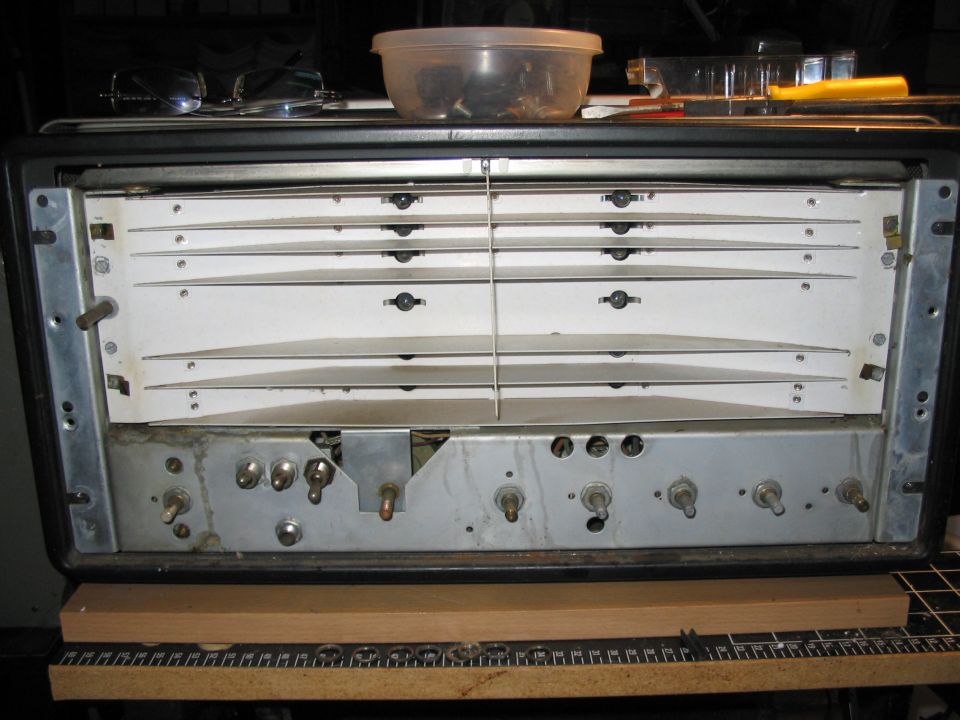
This is a picture of the chassis, after cleaning, some polishing, bulb replacement and dial restringing. There are some areas of surface rust on the chassis which were cleaned out. Then a thin layer of machine oil was rubbed in. The dial bulbs (#44) selected in pairs for similar brightness. I left alone the orange "RUN 2" mark.

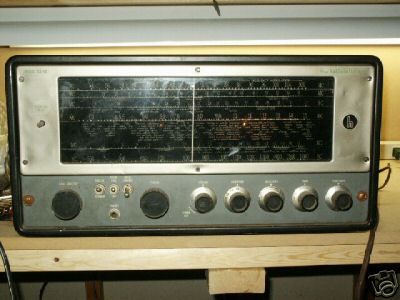
Here's the SX-62 in operation. Not the best photo, but I wanted to show the illuminated dial. This receiver is heavy!

After recapping (nearly) all paper/wax capacitors. Some caps were very hard to reach: I checked those as being within spec. and left them there. I replaced a couple of electrolytics, but the main multi-element can electrolytic measured good, and initially I left it alone. Later I disconnected it, and used modern electrolytics in its place. The replacement for the paper caps are all polyester types, rated at 400V, from Mouser. I also went through checking all the resistors. Many were way above specified value ... some even double. I replaced all that I found that were more than 10% off. This made a huge difference to the performance.
I aligned the SX-62 using sweeps from a Tektronix FG504 function generator. See here for more details (applied to a Hammarlund HQ110C, but the principle is the same).
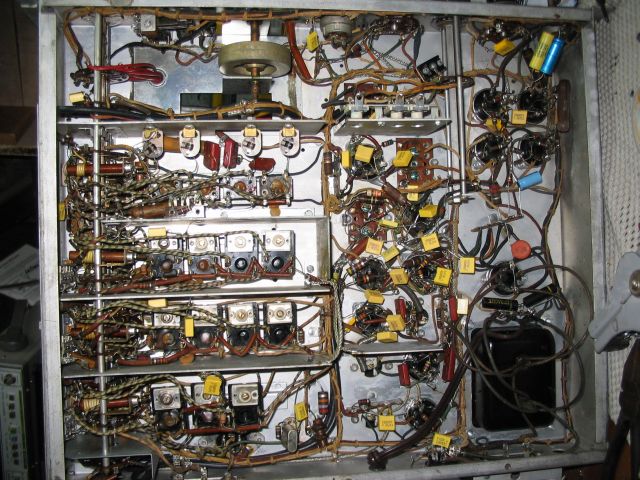
The audio transformer was burned out. I posted to the Hallicrafters list, and a member had a spare, which he sent me for $35.
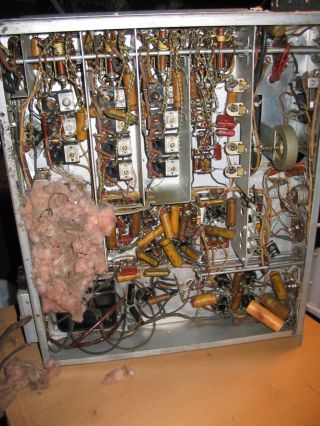
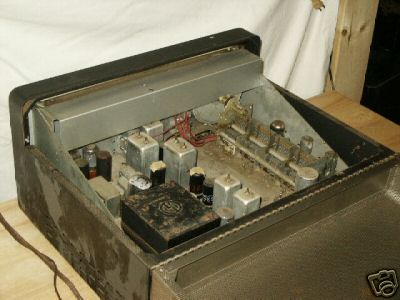
This receiver had hosted a family of mice at some point: here's what it looked like before cleaning and recapping.
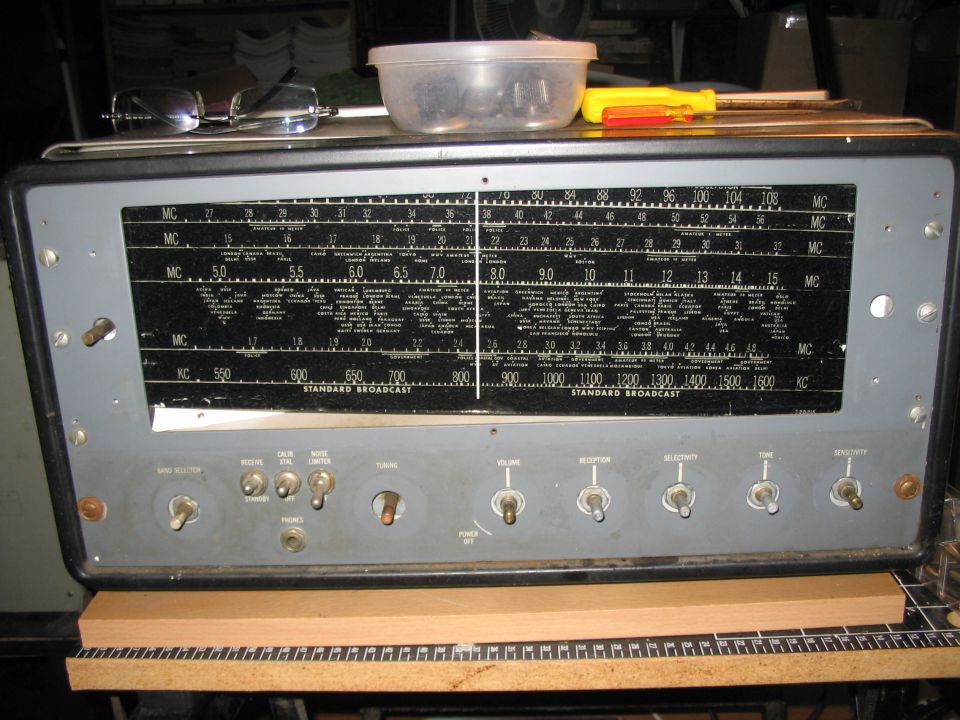
Pictures from the seller, and as received:
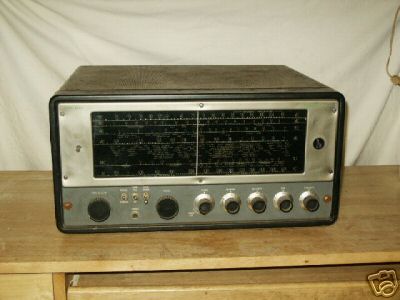
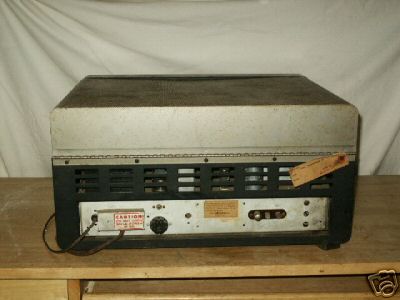
As received:
Here is an excellent description from T.C.Dailey that describes how to re-string the SX-62 without removing the front panel!
The way to restring the TUNING DRIVE, without removing the front panel
Attach one end of the new cord to the end of the spring – put spring end over tab on capacitor wheel. Run string through hole CLOSEST TO the spring, then CLOCKWISE around capacitor wheel – ONCE… keep tension on the string to prevent it falling off of the wheel.
Run string down through chassis hole (rectangular cut), and wrap it CLOCKWISE around the tuning shaft 2 ľ turns (wrap around twice… the leftover will make up the remaining ľ turn. NOTE: the string runs will essentially “cross over” each other if wrapped correctly about the shaft – if you wrap it wrong, the knob will turn opposite to the dial pointer movement! KEEPING TENSION on the string (may be assisted by alternately rotating tuning-shaft backwards and forwards WHILE pulling on string end), move the end Back Up through the chassis opening, and around the capacitor wheel THE OPPOSITE DIRECTION AS THE ORIGINAL WINDING… i.e. ANTI-CLOCKWISE.
Again, KEEPING TENSION on the string, rotate the capacitor wheel about, until the hole, containing the tight string, is exposed. Stuff the remaining end down into the hole, and keeping tension ON THE SPRING and ON THE STRING, tie off the end, onto the SAME end of the spring as the FIRST tied end.
NOTE: If you have proper tension on the spring, rotating the dial back-and-forth will equal out the tension to both ends… IF YOU DO NOT HAVE SUFFICIENT TENSION ON THE STRING, pull the spring out fairly tight, and ultimately this will equal up the tension, in spite of one end being somewhat loose, and the other tight, right now. In the end, you will see TWO (2) wrappings of the dial-cord about the capacitor wheel at any given time – if you see three – you get to do it all over again.
Unmentioned in the manual, is that there are TWO SEPARATE dial-cords for the SX-62 & SX-62A. Looking at the diagram, one could almost think that it's all done with ONE run, but reading the text gives the clue, even though they NEVER say it. If replacing BOTH runs, and you can't (or don't want to) take the front panel off, do the TUNER DRIVE first, then the DIAL POINTER DRIVE.
To improve slipping dial-cords that are still good... use violin rosin. A little goes a long way, and it works like a champ.
(From a private communication with Tom Dailey, W0EAJ, and reproduced with permission.)
Other Information
The Run 2 manual is here.
The Run 1 manual is here (from Nostalgia Air).