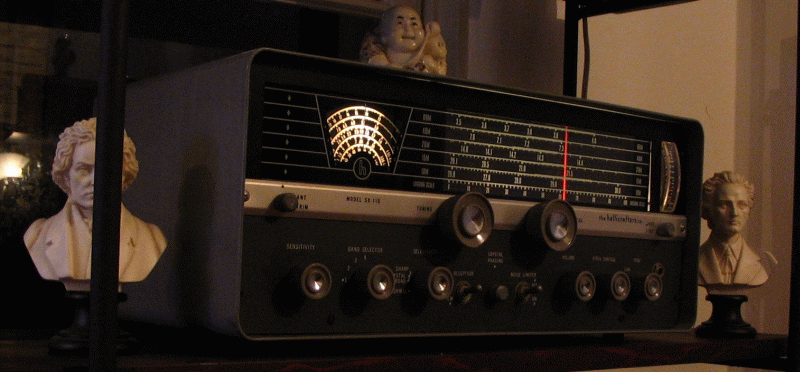
Hallicrafters SX-110
Here is the SX-110 with temporary green lettering dial.

Here is the SX-110 as received from the seller (I paid $51 on Ebay, including the manual. oddly, since then I haven't seen an SX110 go for less than $100. Weird.)

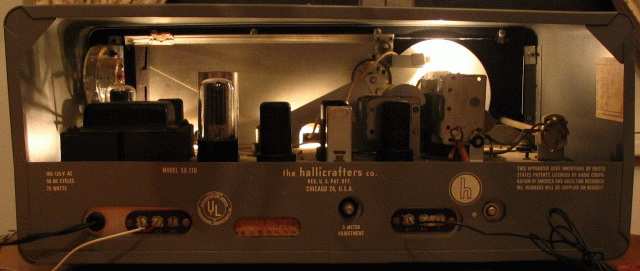
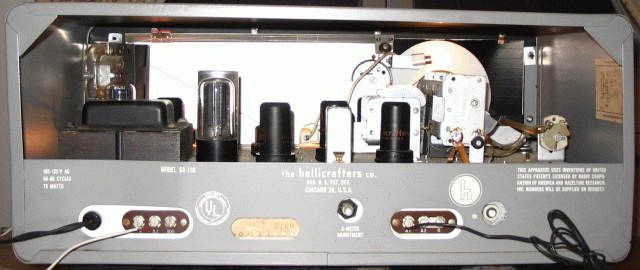
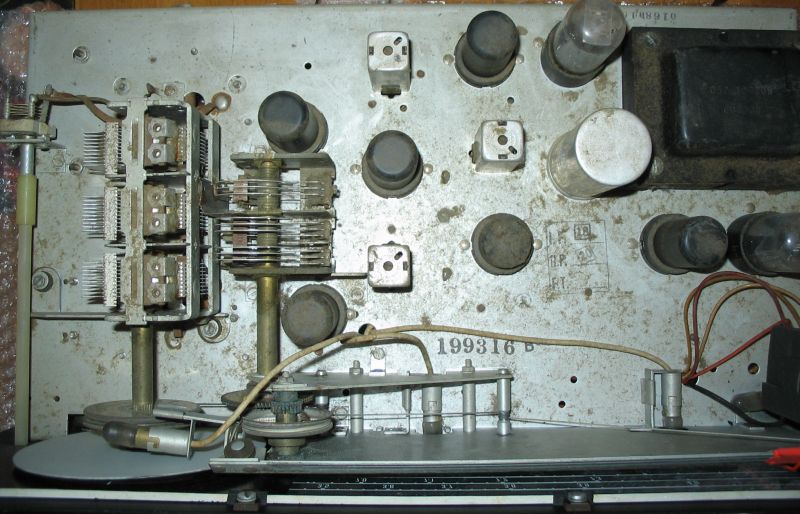
After removing the case, the dirty chassis, complete with all original Hallicrafters tubes:
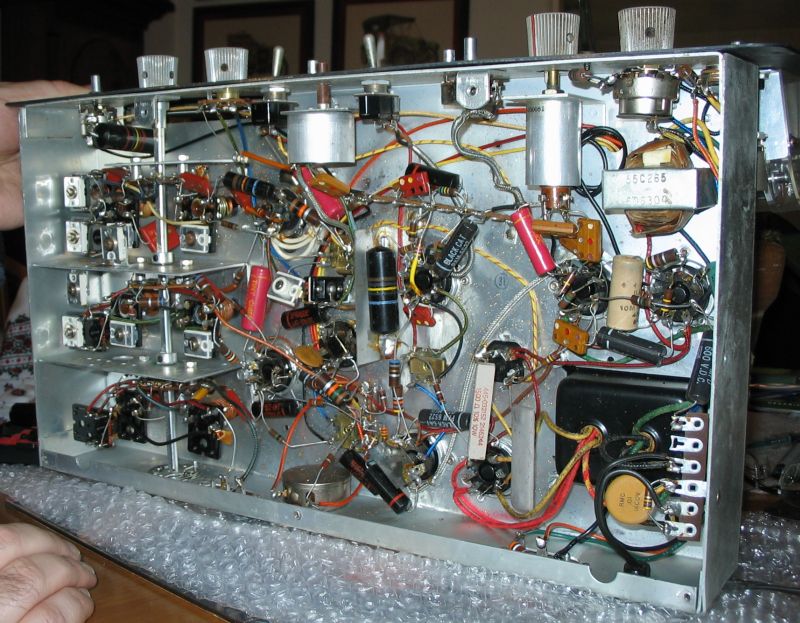
The underside of the chassis: spotless and as new from 1961 :-)
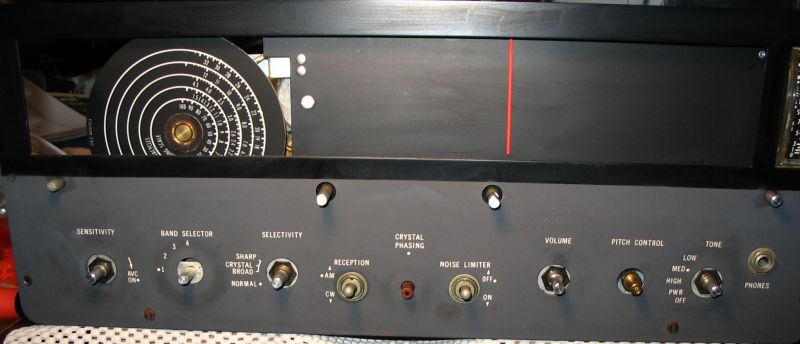
The front panel, with knobs removed for cleaning:
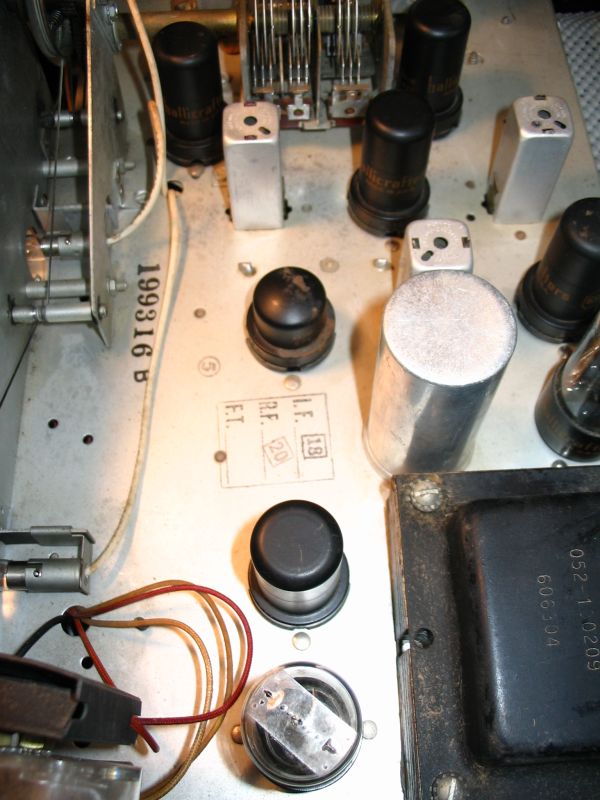
Top side of the chassis, after blowing the dust away and careful wiping of the larger components. I replaced all four instrument panel #44and #47 bulbs, and applied silicone contact cleaner to all moving parts.
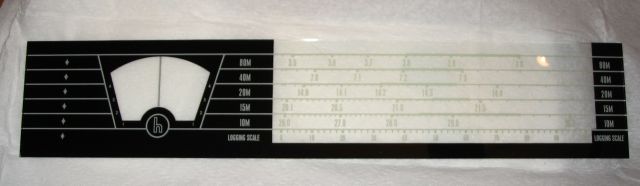
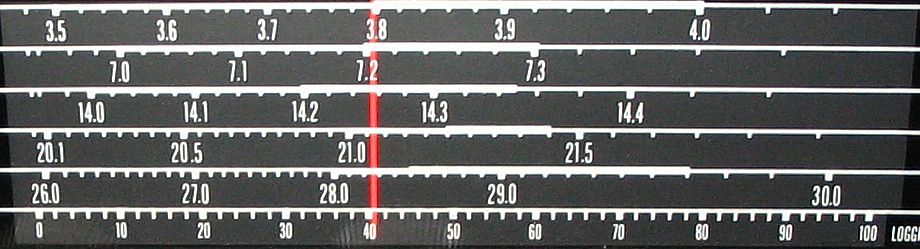
I came to clean the Bandspread dial, and horror of horrors, as I sluiced it under a trickle of water, all the lettering came off! So I needed to recreate the lettering. I used one of the photos I'd taken of the receiver when it arrived, and cropped the Bandspread dial out:
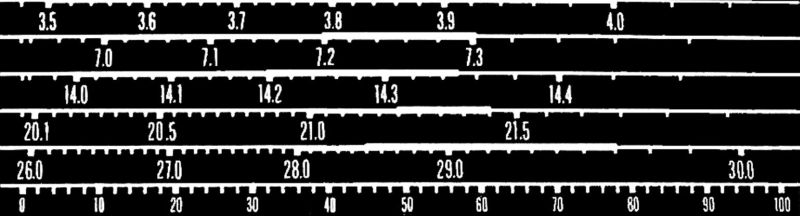
I asked Sarah to help with Photoshopping. She removed the red tuning bar, adjusted the colours, and corrected the perspective:
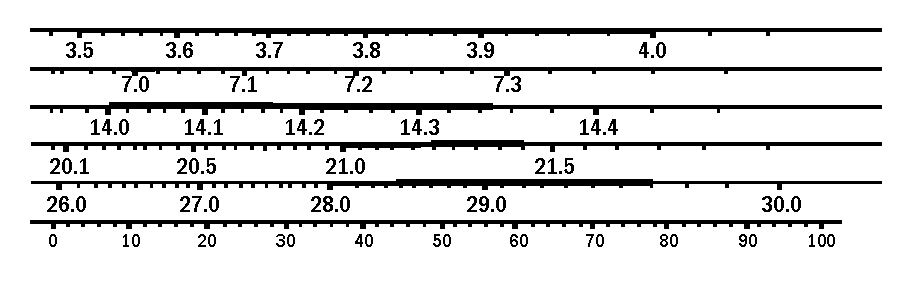
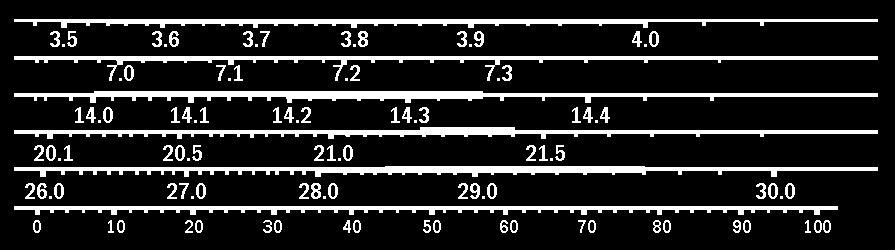
I then imported the above image into Powerpoint, and started laying out white lines, tick marks and text on top, to closely match the original. Once done, I simply removed the original image, leaving the new lines/ticks and text, and saved it as a GIF. (The font choice is close, but not perfect. A better font would be slightly taller ...)
So now the problem is: how to print white letters on a transparent foil that could be fixed to the back of the glass? This turns out to be incredibly hard. See here for the question I posted on Google News, and the plethora of replies.
In the end, I ordered a replacement dial from RadioDaze (order DG-32). Here is the dial, as it arrived: a perfect replica!