

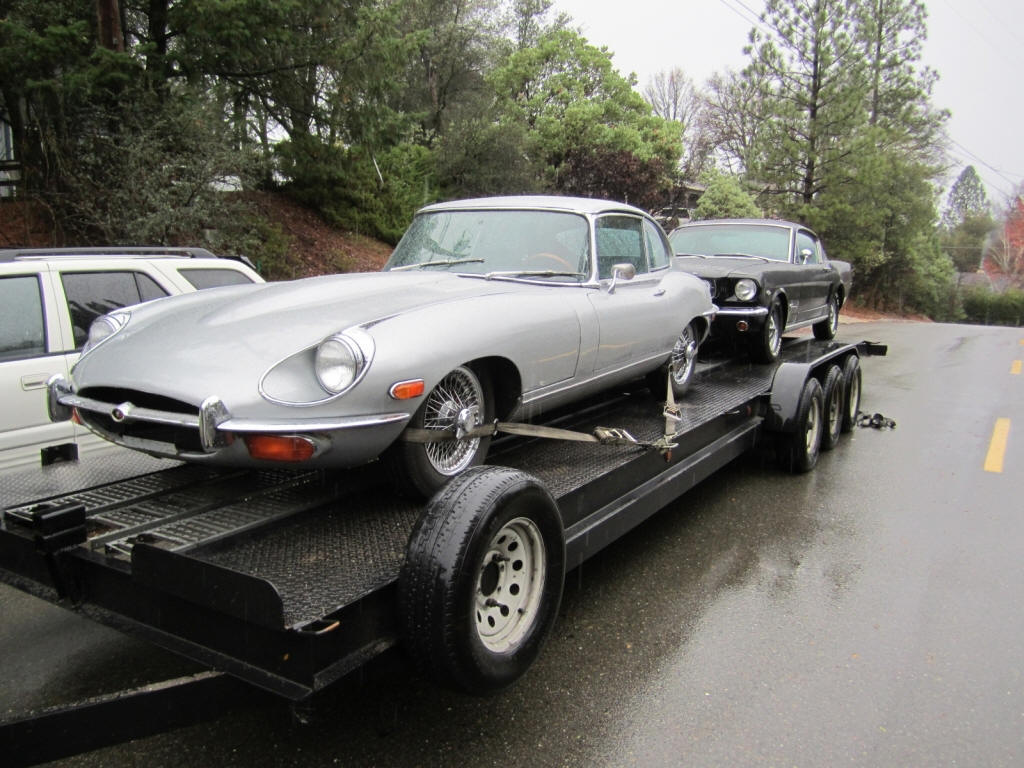
VIN: 1R41300BW (Link to XKEDATA's record: http://www.xkedata.com/cars/detail/?car=1R41300)
From Heritage Certificate:
Engine #: 7R36848-9
Body #: 4R36532
Gearbox #: 34863
Date Built: 3rd. March 1969
Date Dispatched: 14th. April 1969
Distributor: British Leyland Mtrs., Inc., New York
Exterior: Silver
Interior: Black
Series 2. Body style: 2+2. Borg Warner automatic transmission.
My tach stopped working, so after checking all the connections and finding them good, I took it apart.

The circuit in mine is quite different from that described in this useful link from Mark Olson:
http://www.classictiger.com/techtips/motach.html
For example, mine only has one transistor, and the toroidal transformer has two windings apart from the turns of the wire from the coil.

I suspected the 2uF electrolytic capacitor (these are prone to failure when very old), circled in yellow in the following photo:
Sure enough, it was a direct short when measured on the multimeter. I snipped it out of circuit and soldered in a 3.3uF tantalum (the value is almost certainly not critical)
in its place.

Now my tach works fine again :-) I wish all the jobs on the Jag were this simple.
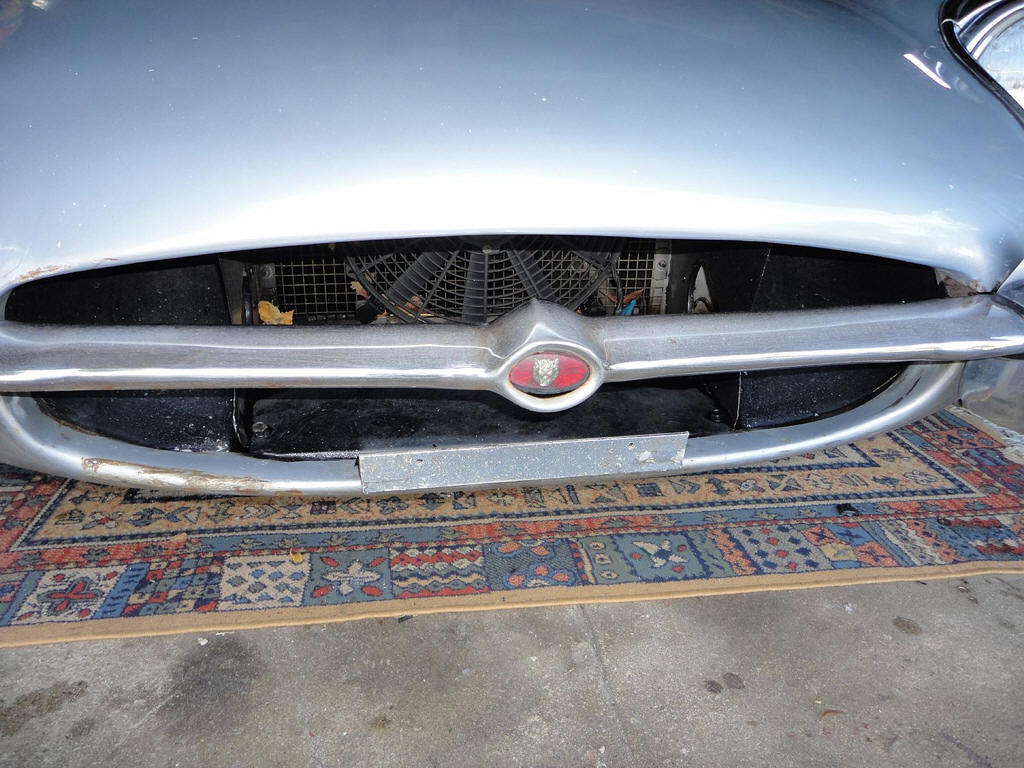
My car came to me with the condenser and radiator duct plate missing. I fitted a new duct plate and bought a used condenser, which I am now wanting to fit into position.

Here is a photo of the condenser in situ. I am worried that the upper hose fitting on the condenser is very close to the radiator grille, so am wondering if I have something missing
or wrong:
I have been tracking down a problem where my AC belt was rubbing on the frame rail. Lloyd guessed it was sagging motor mounts, so I ordered new ones from SNGB. Here's a photo of the driver side old mount, and the replacement:

As you can tell, there's a bit of extra height there on the new one, so I was optimistic.

I used Glenn's suggestion of putting a large washer on top of the mount, to prevent the rubber distorting. If this doesn't wear well, I'll invest in the uprated mounts others recommend. Here's the fitted mount:
After assembling the AC bracket, and reattaching the compressor, I got the result I was hoping for:
The belt is clear of the frame rail by at least 1/4'' - and maybe it will increase as the new belt beds in. OK, so I don't have as much gap as Andy, but I'm happy.
Next job: fitting the radiator duct shield, fitting the condenser, then seeing if the whole thing will take a charge of Freeze12.
After driving my 2+2 around the block a couple of times
yesterday evening (April 1, 2011) for the first
time since I got it, it was apparent that the exhaust
was holed, so I jacked the car up to take a look.
Imagine my dismay on seeing the following:

Now, I've been under the car several times checking the
brake hoses, suspension, sills for rust etc. and I can't
believe I didn't notice this before. Perhaps it dropped off
during my trips around the block ... but I walked around my
route and there was no evidence of it.
It turns out that this plate is often missing, and is
not critical - it just prevents debris and stones from damaging the mechanism. I
sourced a used plate from John Koish at Welsh Enterprises, and it is on its way
here (April 4, 2011).
Removal instructions:

Closeup of the switch still attached to the steering column:

Switch internals:
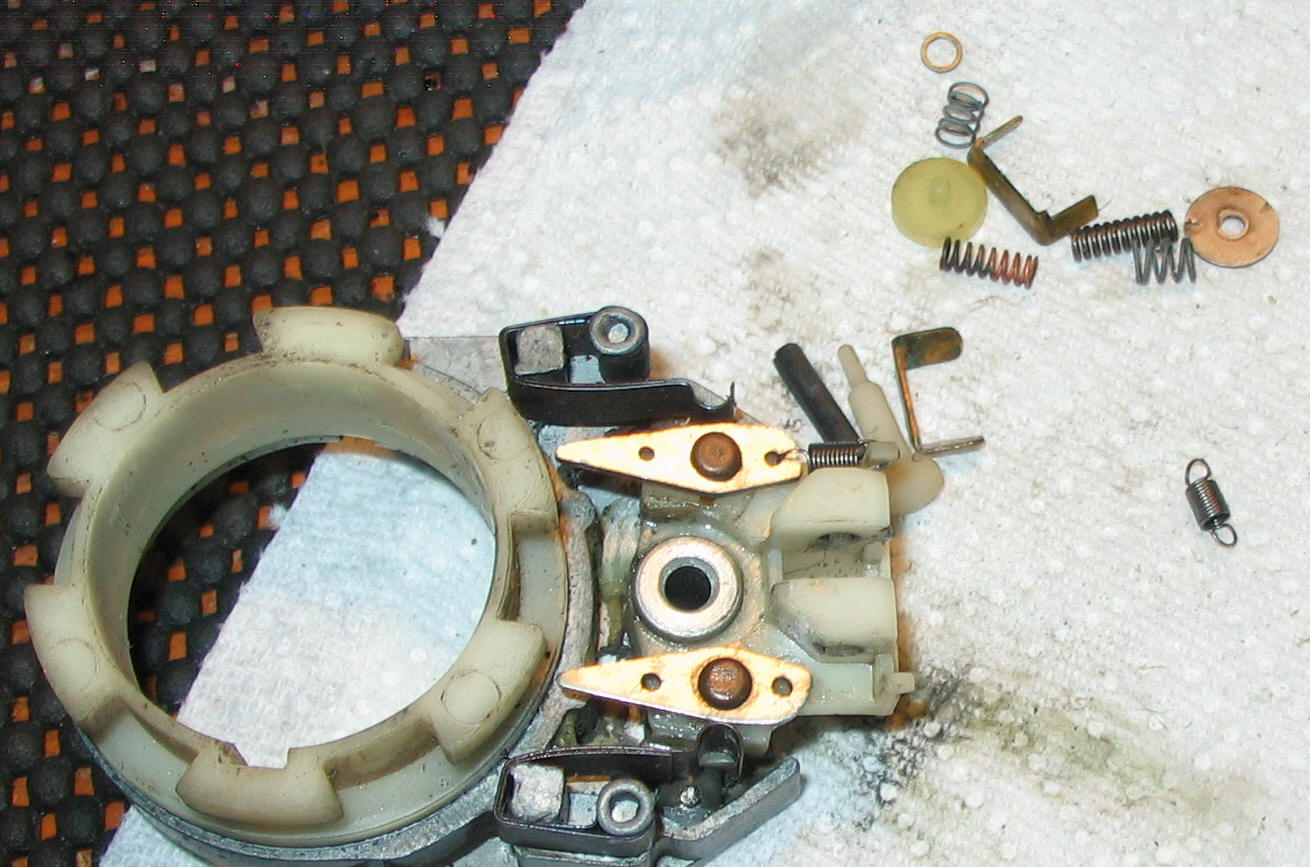
The switch after disassembly, cleaning, and reassembly. Horn braid still unconnected:
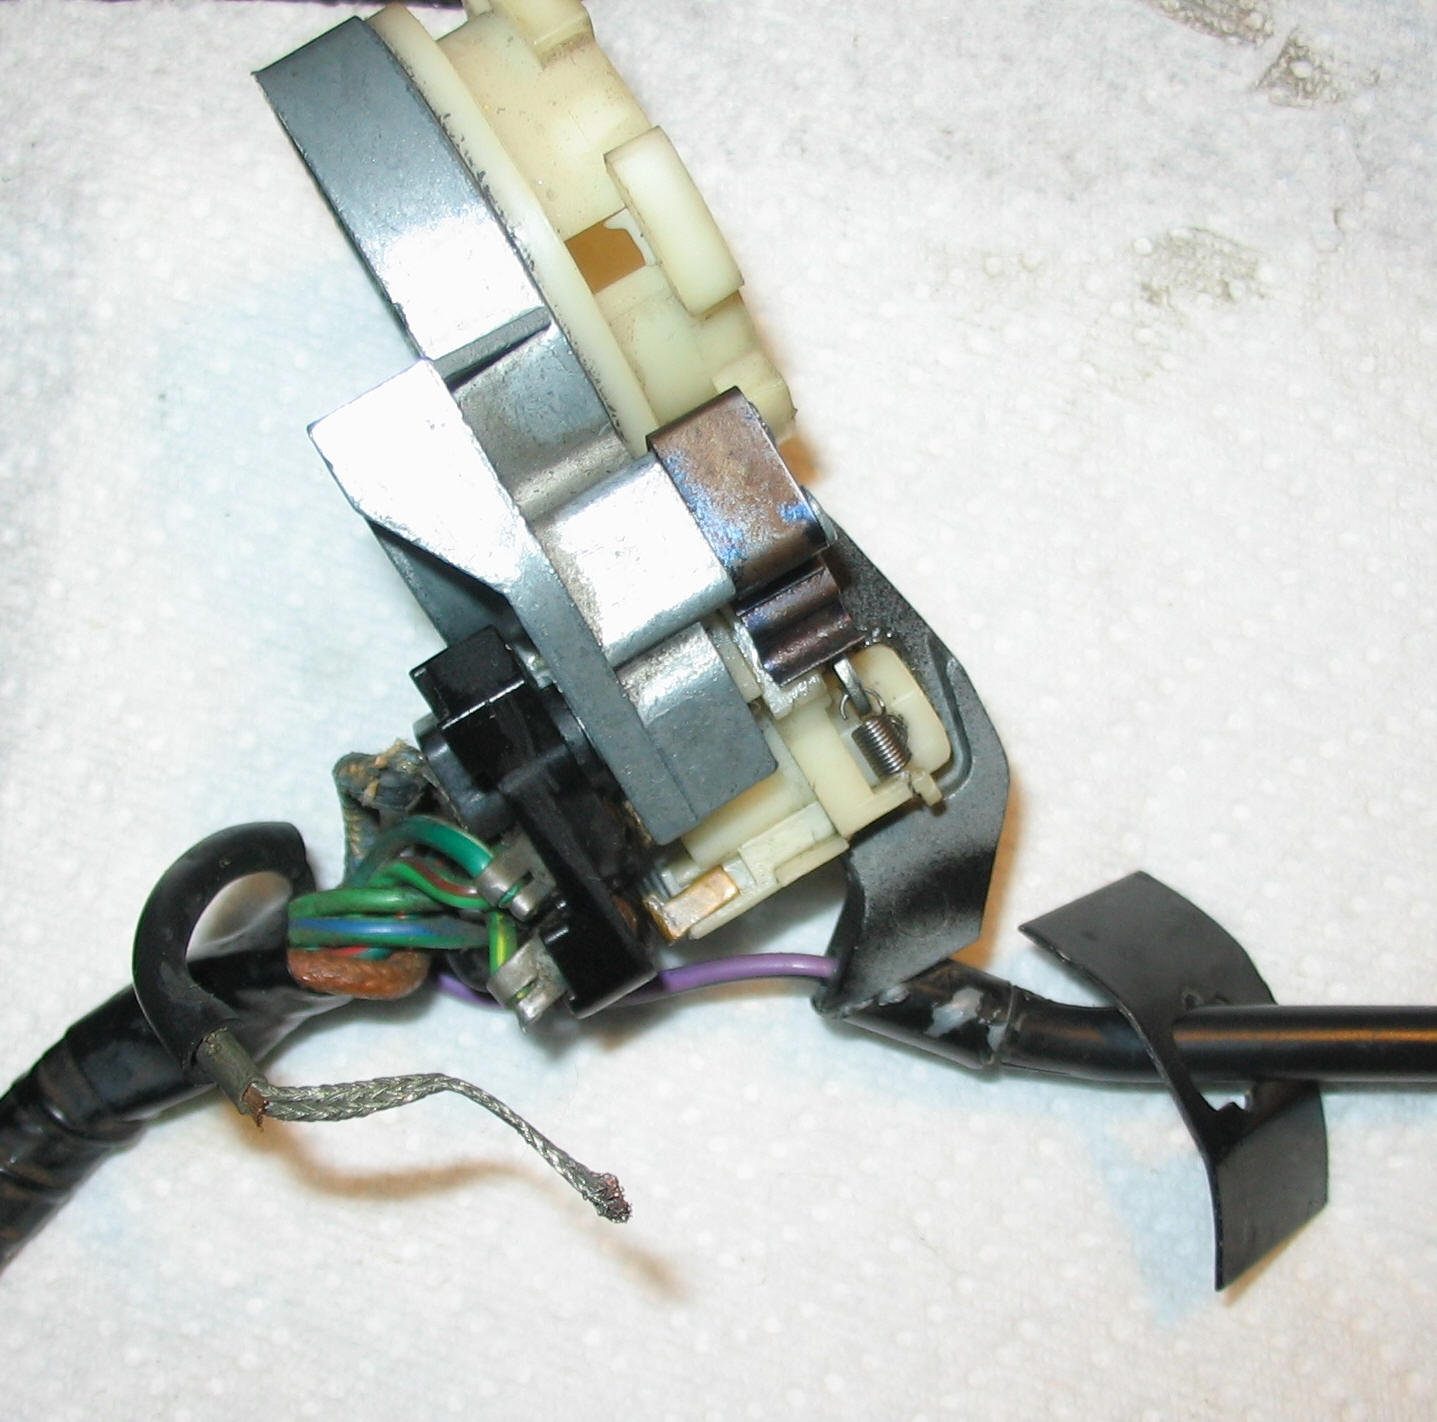
I drilled a hole through the stalk base and then attached the braid with a solder tab: not pretty, but it works well:
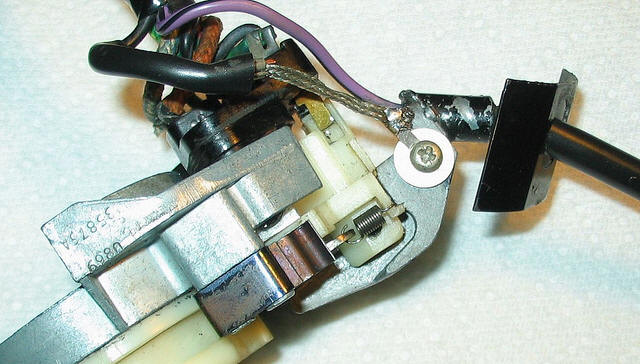
John Holmes' switch (off a '70 model):


A slightly different switch (notice how braid for horn is attached with a screw)
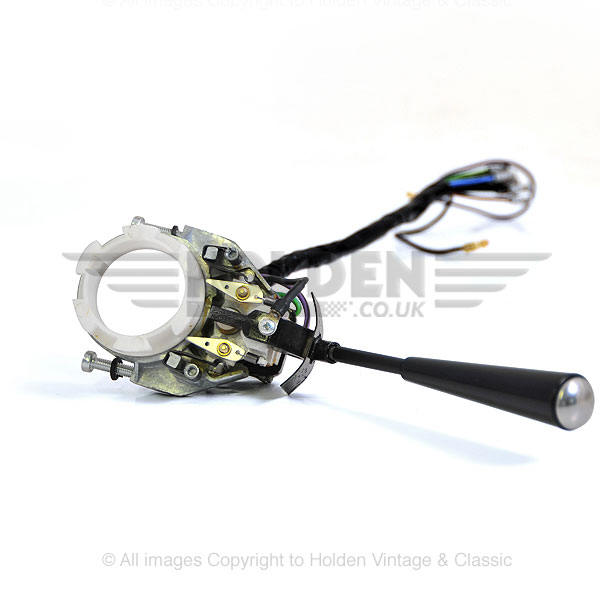
Jag-lovers forum discussion about this switch: http://forums.jag-lovers.org/av.php?1387660l64
Here is a photo of my faulty Otter switch:
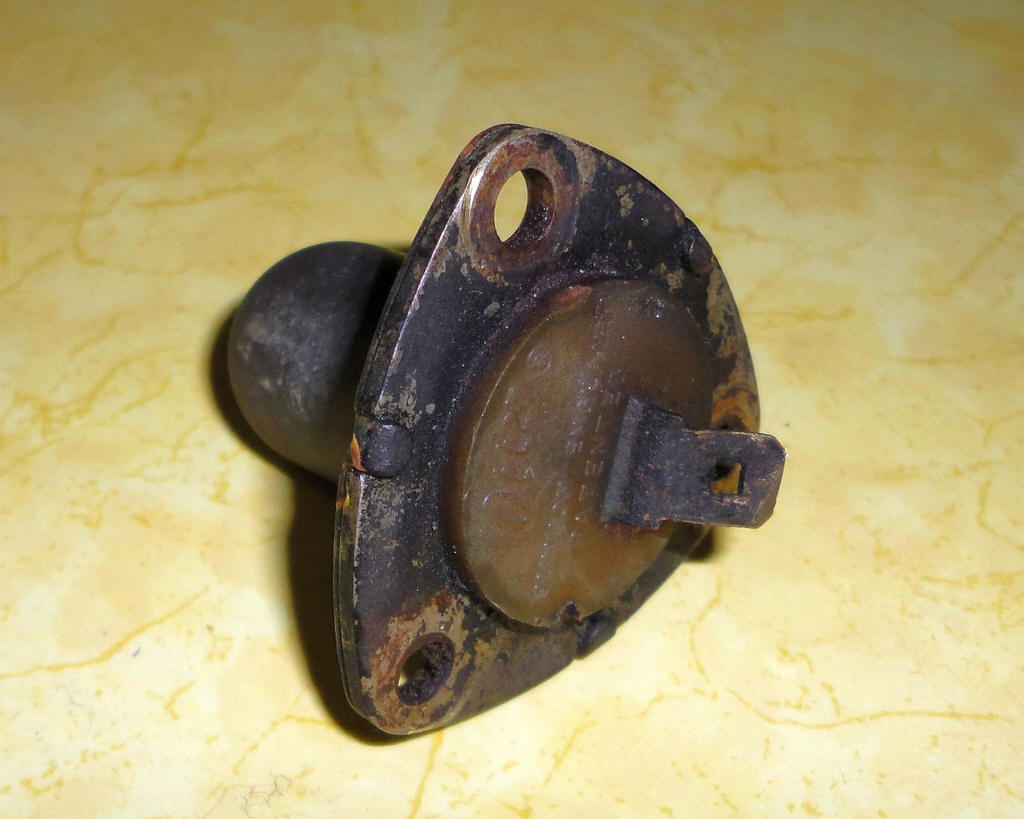
I removed it because it is internally shorted. A new one was ordered from Coolcat.
Now here is a photo of the mounting location on the front of the radiator. This is not for the faint of heart:As you can see, two of the threaded studs are sheared off about 1/8'' from their base. Please don't ask me about how I sheared not one, but two of them: I'd rather not talk about it. I ground down the two sheared studs, centre-punched them, then drilled them out and tapped the holes. Here's the repair:
I'll be keeping an eye on it for a while, but it is very secure. I used compression washers on the new bolts.
Before and after refresh:

Opened up the canister for the first time yesterday to check the air filter condition (I've only had the car a short while, so am on a voyage of discovery). Here is what I found:Do you think the triple SU carbs might be able to suck a little more air through once I clean that up?!
PM354 model ''Made in Canada'' - Siemens?
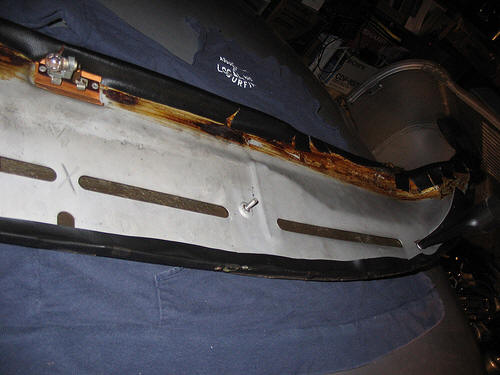
Removing the upper dash is very easy: just undo four nuts, two at each end next to the A posts, and two on the upper surface of the fuse box/panel switch area.
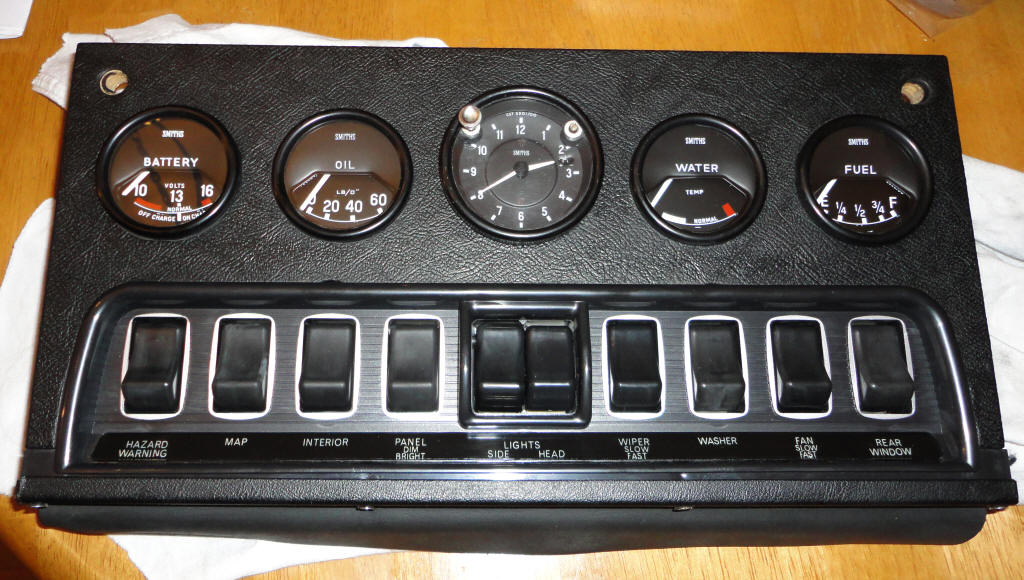
Here are photos of the removed dash, which I intend to re-cover with imitation leather vinyl.
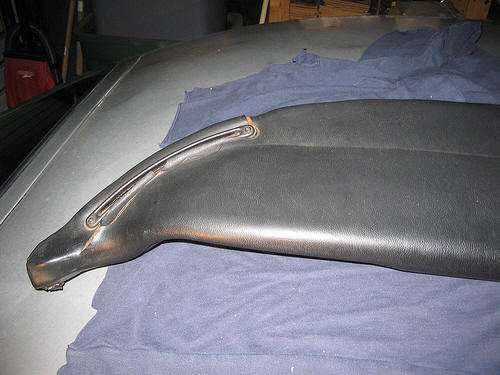
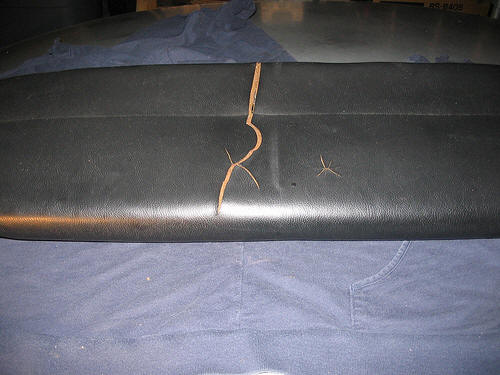
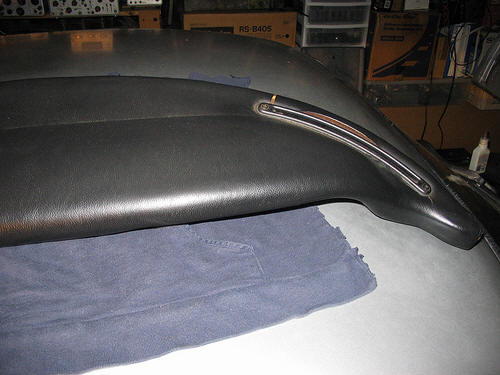
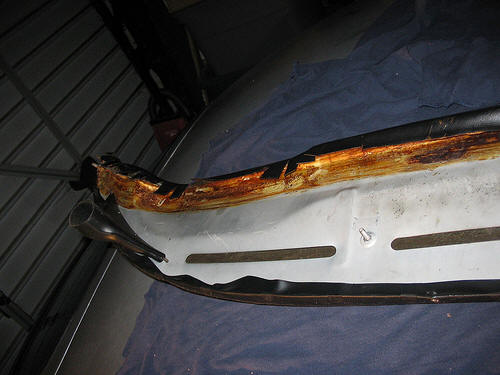
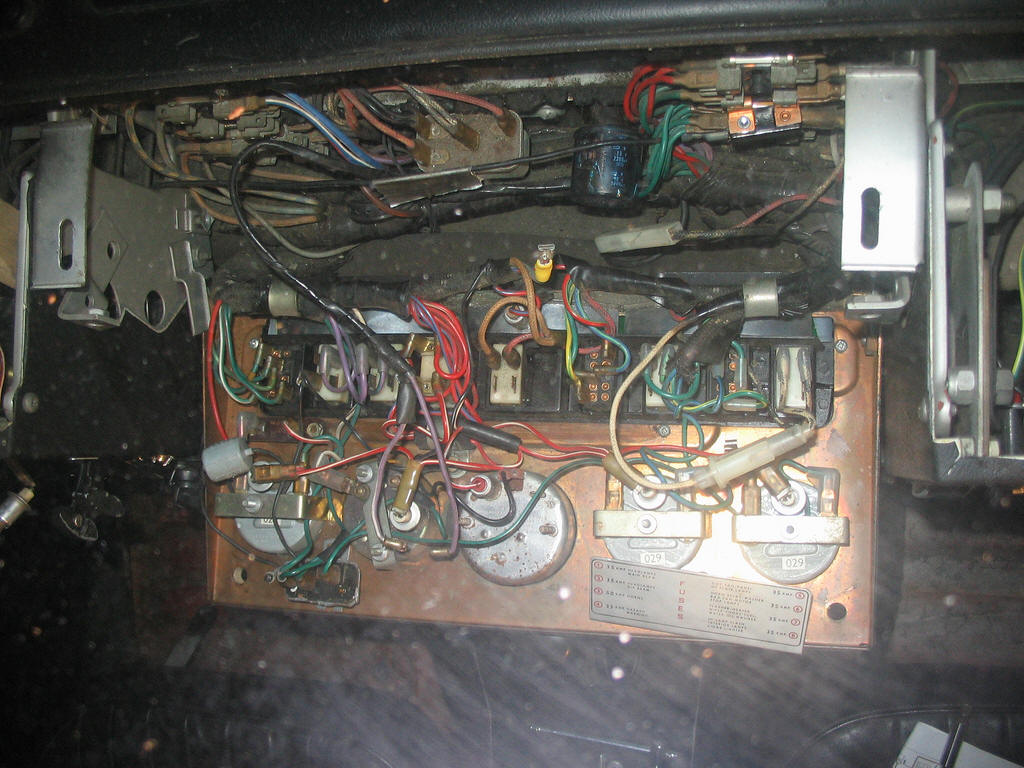
After removal, there is excellent access to the gauges, switches and other controls.


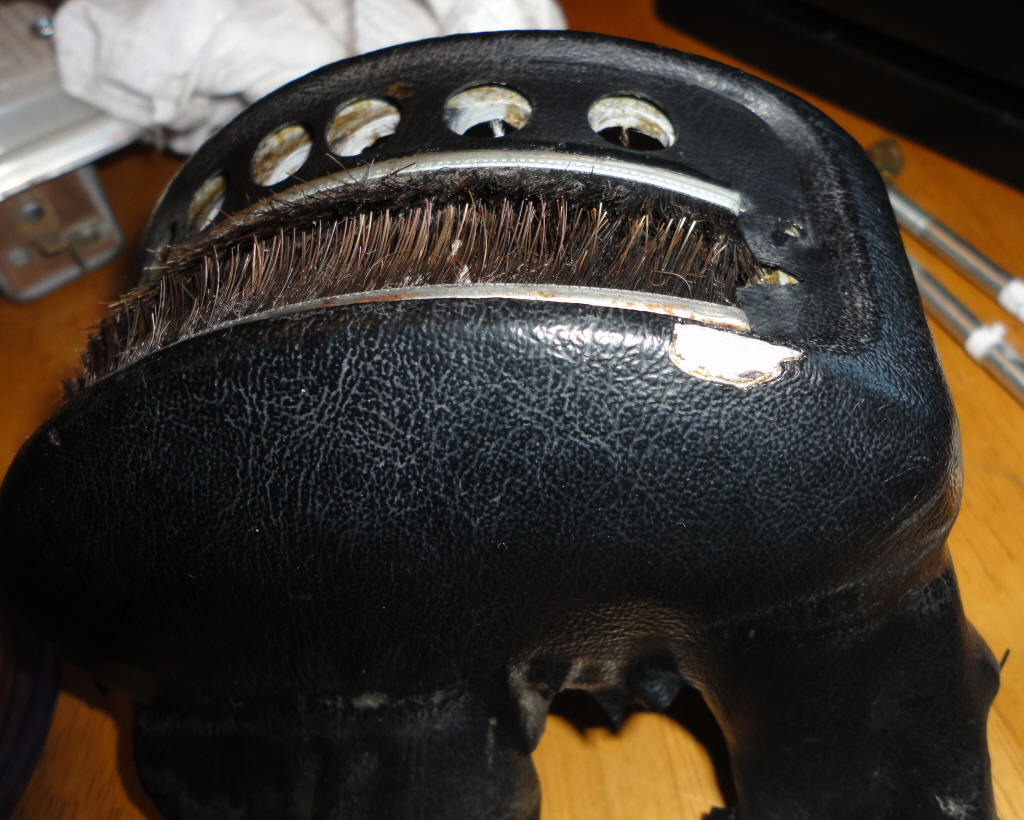
Before and after repair with kit:

Broken shifter id plate (left) and replacement unit from a later (?) car.

The speakers are made by Jamo and an exact fit to the mounting holes (as opposed to the units I removed!)

Correct armrests for an early Series II 2+2 are product code BD-26078
Records of work done by Wilson's Foreign Car in Penn Valley, CA for a previous owner, Dan Nettles, in 2004 and 2005.


(From John Holmes. These are the Lucas relay numbers. The E-Type model/year is in the first column of the table.)

E-Type Database: http://www.jaguarxke.net/category/technical/jaguar-xke-numbers-identification-1961-1974
E-Type Shopping: http://www.jag-lovers.org/e-type/shopping.html#look
Jaguar videos: http://www.jag2jag.com/page/jag-videopedia
Parts Interchange between Jaguar models: http://hubpages.com/hub/Jaguar-E-Type-Parts-Changeability-Between-Models
SNG Barratt (parts): http://www.sngbarrattusa.com/
XKs Unlimited (parts): http://www.xks.com/
Fansite: www.jaguar-e-type.net (fansite)
XKE Data: XKE Data (online registry with thousands of cars)
History: Jaguar E-Type history from WebCars!
Photos: E-Type Jaguar photos
Register: The International Jaguar E Type Register
UK E-Type Forum: http://www.etypeuk.com/forum/
JDHT Certificates: http://www.jag-lovers.org/cert.html
E-Type Wiring Diagram: http://www.coolcatcorp.com/faqs/XKE_Series_2_Wiring.pdf
Jag-lovers body tech tips: http://www.jag-lovers.org/e-type/body.html
Jag E-Type restoration blog: http://xkeresto.wordpress.com/
Bob Skelly's excellent pages: http://bob_skelly.home.comcast.net/~bob_skelly/
Another E-Type restoration: http://www.mckennasgarage.com/xke/jag41.htm
And another: http://jaguaretype.wordpress.com/
Welsh Enterprises spare parts: http://www.welshent.com/
LED lights for dashboard/exterior: http://www.v12s.com/indxcc.html
Superbright LEDs: http://www.superbrightleds.com/cgi-bin/store/commerce.cgi?product=755
E-Type Parts Interchange: http://www.jag-lovers.org/e-type/parts.html
XKE Lovers: http://www.xke-lovers.com/
Bassett's Jaguar parts: http://www.bassettjaguar.com/servlet/StoreFront
E-Type Series 2 JCNA Concours guide: http://www.jcna.com/library/concours/2006/e-type2.pdf
Jaguar Heaven Parts Dismantlers: http://www.jaguarheaven.com/index.html
Jag-Lovers thread about the Borg Warner Automatic: http://forums.jag-lovers.org/av.php?878769p20
SC parts catalogue (UK): http://www.scparts.co.uk/index/lang-2/lkz-195/markenid-2/katnr-68/kat_sprache-2/functiontpl-clickable_hauptrubriken.tpl,kat-,actmenu-.htm
Discovery Channel series about restoring an E-Type: http://jagxketype.blogspot.com/2010/11/car-is-reborn-restoring-jaguar-e-type.html
Los Angeles Jaguar Owners Club: http://www.lajagclub.com/
Another E-Type wiring diagram: http://www.xkedata.com/pdf/53wiring.pdf